Using the VitalPBX Connect Application
Prerequisites:
- You have received the VitalPBX Connect Welcome email with QR code for extension setup.
Using VitalPBX Connect
First, open the VitalPBX Connect application on your device.
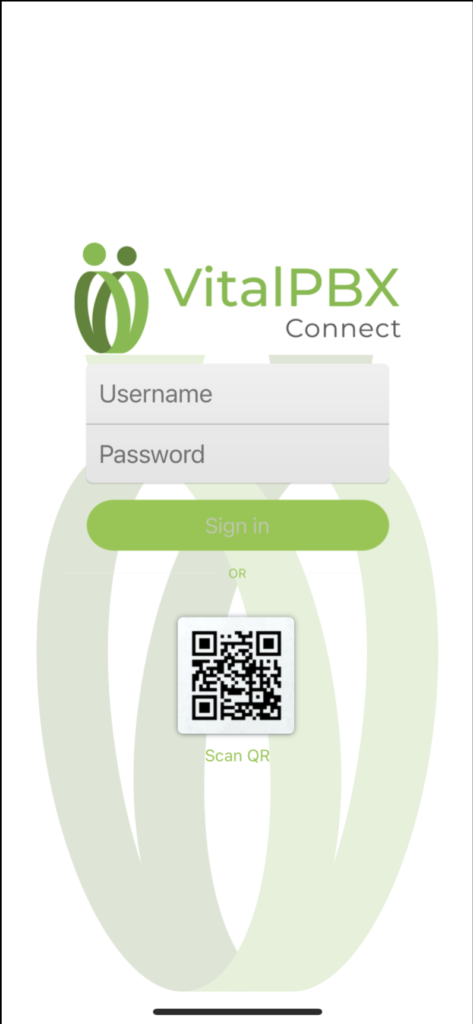
The first time you open the application, you will be greeted by the login screen. Here you will sign in with your provisioning information. For security purposes, VitalPBX generated a long random username and password. This is why using the QR code is much easier to provision your device.
Click on the Scan QR button. This will ask for Camera permissions. Once you scan the QR code, the application will be provisioned, and your extension will register.
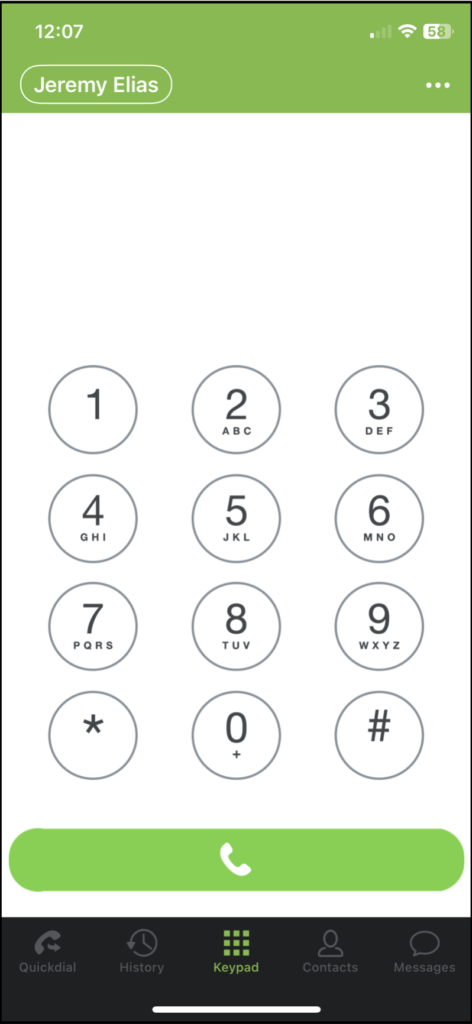
Once the device is provisioned, you will see the following screen.
The main screen for the application is the Keypad screen. Here you can initiate calls and check your voicemail.
On the top side, you will see your extension’s name and the settings menu, represented by three dots.
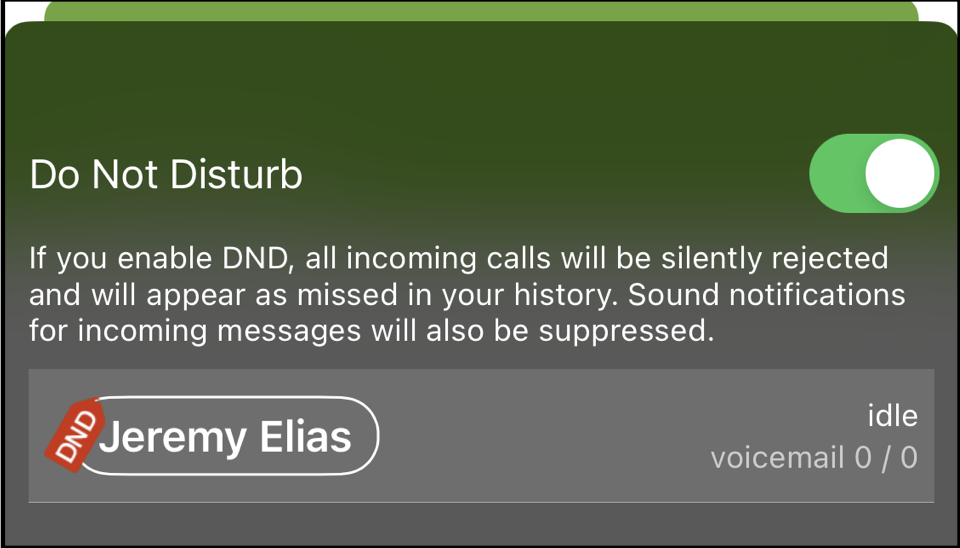
If you tap on your extension’s name, you will see the Do Not Disturb option, which can be enabled or disabled. As well as information about your extension and voicemail.
You can tap the Close button at the bottom to close this screen.
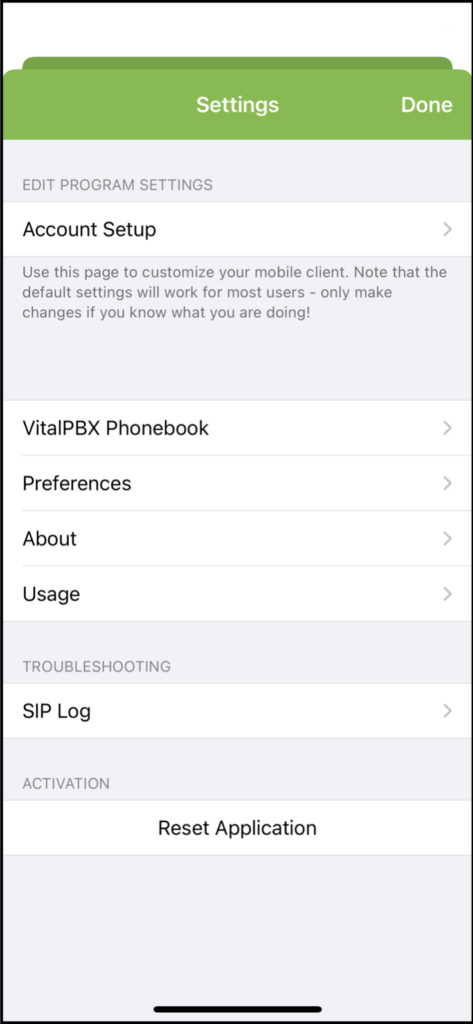
If you tap on the Settings option, represented by the three dots, you will see various settings for the application. You will likely access the VitalPBX Phonebook and the Preferences options.
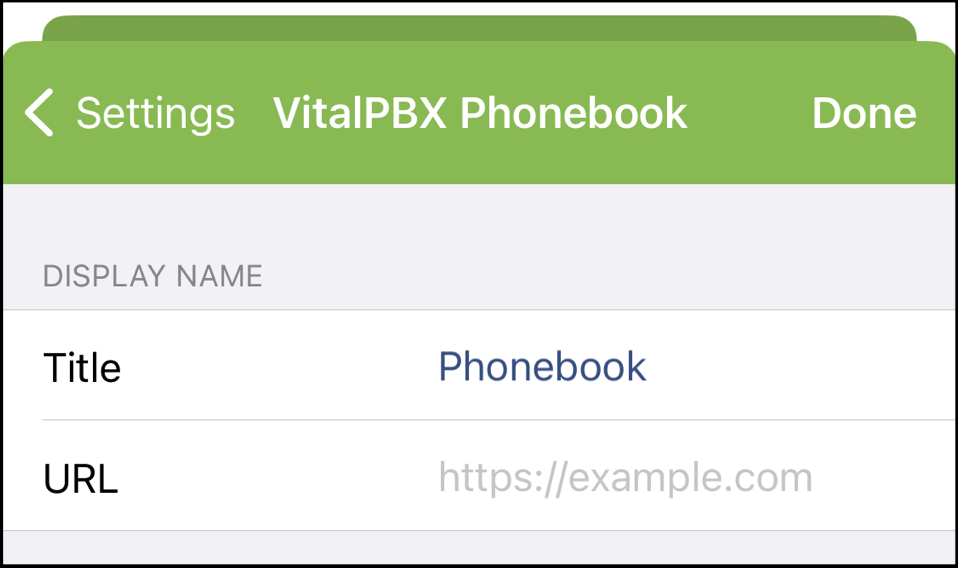
Under VitalPBX Phonebook, you can enter a phonebook URL generated by the Phonebooks add-on in your VitalPBX installation. This allows you to share a centralized phonebook with your end users, so they don’t have to enter a contact list manually. If your organization has a central phone book your system administrator can provide you with the link.
You can tap on Done after you have added the Phonebook URL.
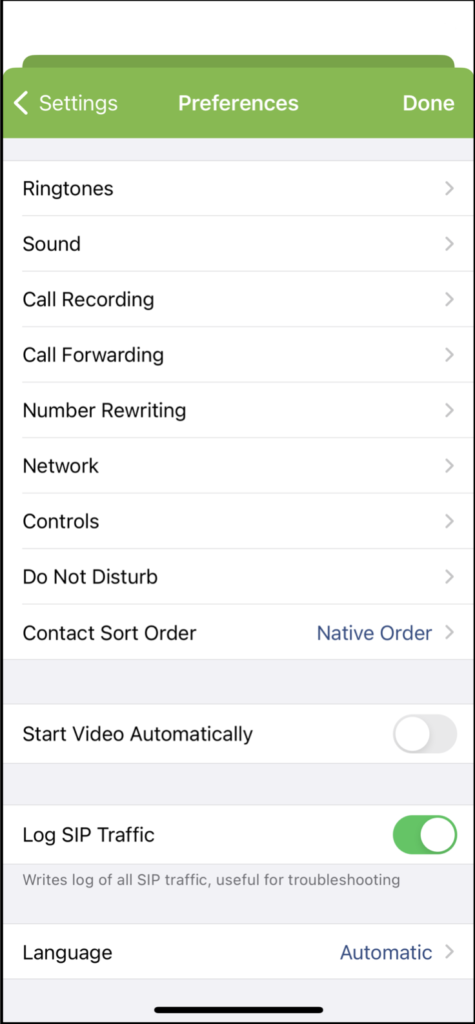
Back in the Settings page, if you click on Preferences, you will see various options you can configure to change the application’s behavior.
Here you can change Ringtones, Call Recording options, Call Forward, add Do Not Disturb rules, and much more. We encourage you to check out all available options to customize your VitalPBX Connect experience.
You can save any changes by tapping on Done.
Back on the application’s main screen, you can see other pages you can access at the bottom.
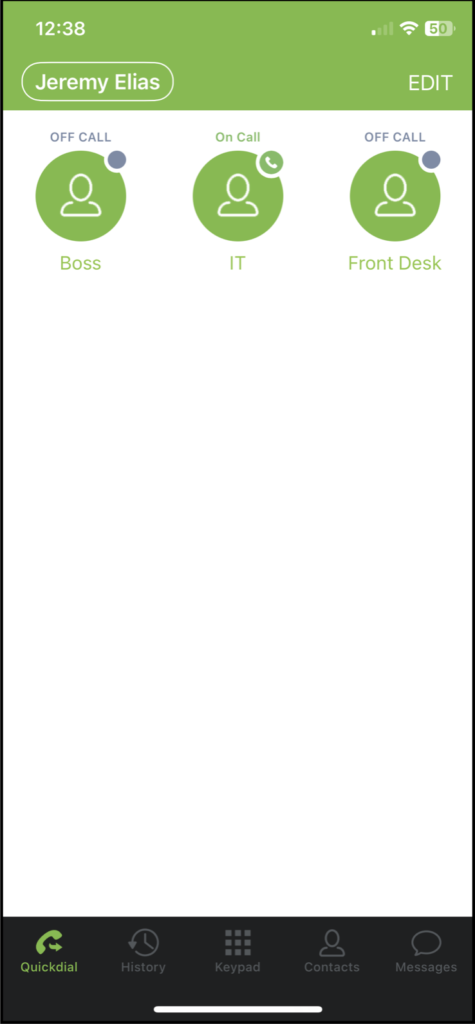
The first one from the right is the Quickdial page.
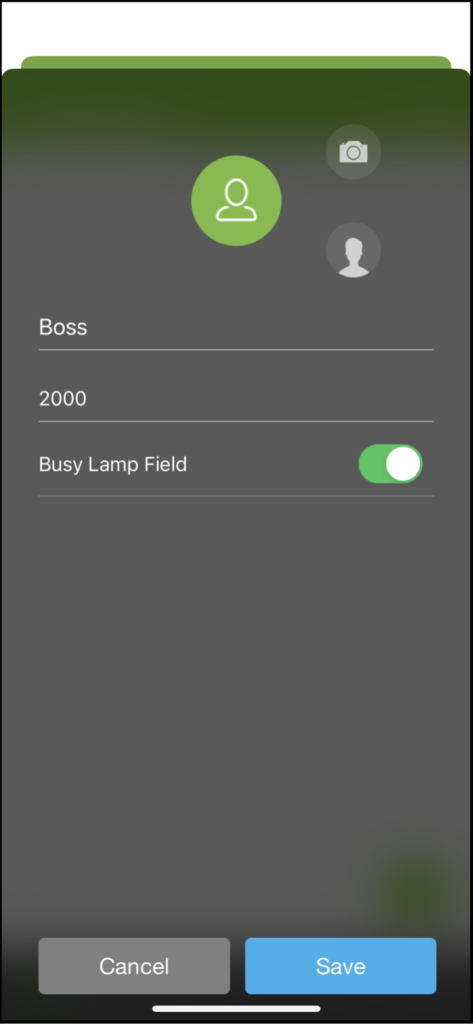
Here, you can add contacts for quick access to call them. To add a quick-dial contact, tap on Edit and then the green plus sign.
When adding a new quick-dial contact, you can enable the BLF (Busy Lamp Field) option to monitor their presence. This has to be an extension number in your organization to use the BLF feature. You can also add a profile picture for this quick-dial contact.
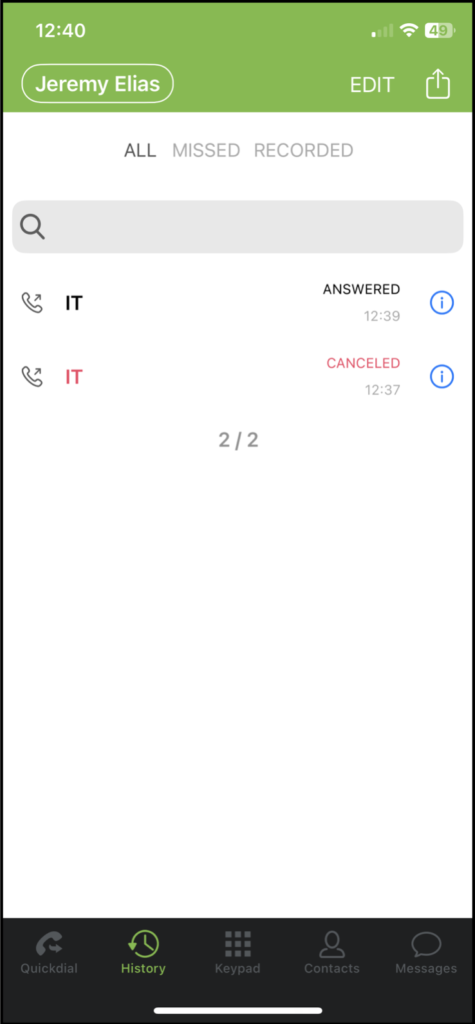
Next is the History page. Here you can see your complete call history.
You can edit the list, remove items, and export the list using the share button in the upper right-hand corner.
In the middle, we have our Keypad, as mentioned before. Here you can initiate calls. If you double-tap the green call button, you will recall the last number you dialed.
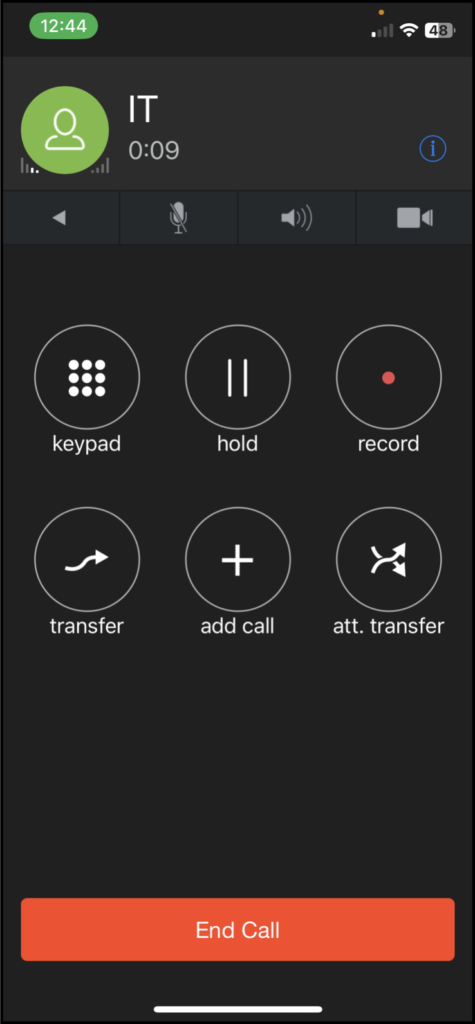
During a call, you will see the following screen.
While on a call, you can mute/unmute, turn on speaker mode, and initiate your video. You can also show a keypad to perform DTMF actions, place the call on hold, record the call locally on your device, do attended or direct transfer, and add calls to create a 3-way conference. At the bottom, you can End the Call.
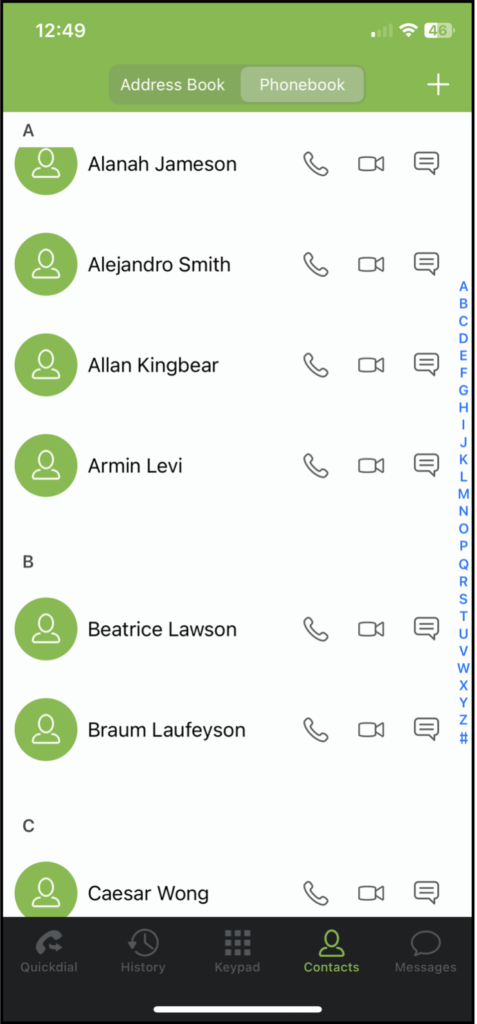
Next, we have the Contacts page. Here you will see the contacts stored in your mobile device and another tab for the central phonebook we added through the application’s settings.
You can refresh the VitalPBX phonebook tab whenever you open this page or by sliding the contact list down.
This way, your phonebook is always up-to-date with the contacts added on VitalPBX’s Phonebook add-on.
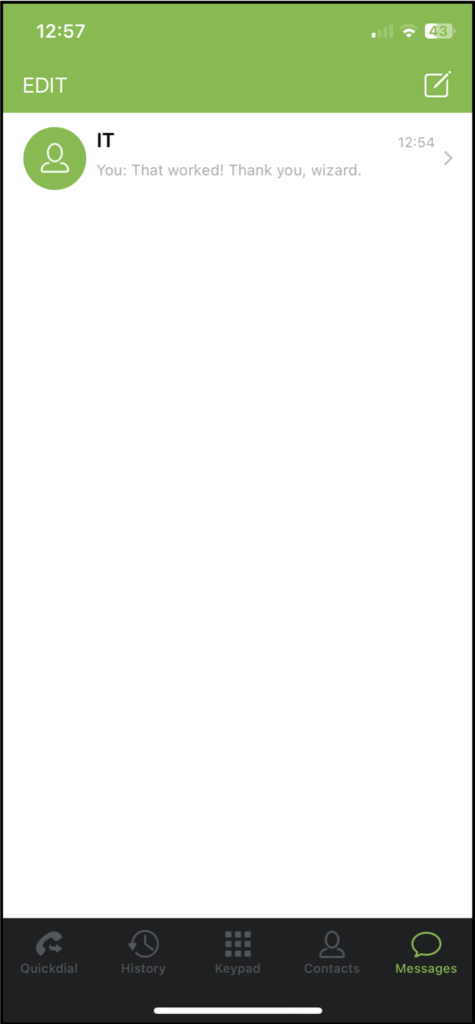
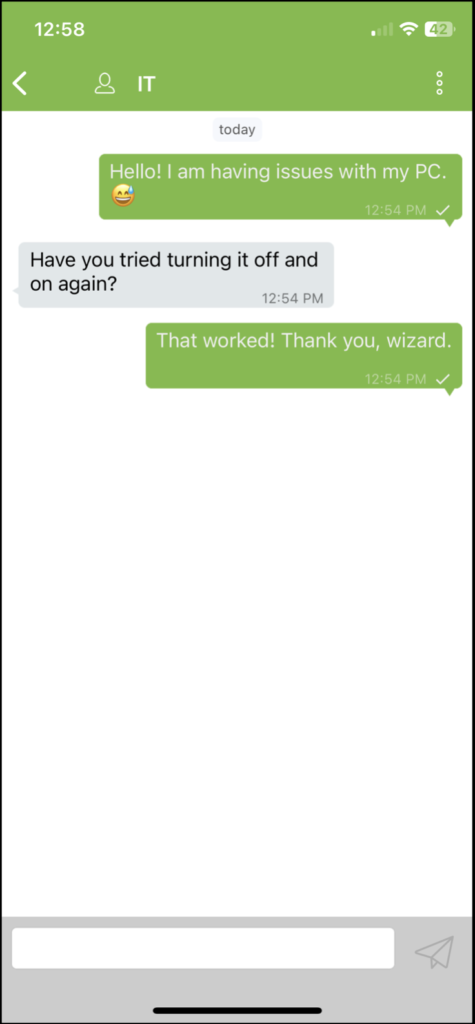
Finally, there is the Messages page. Here you can send and receive SIP-based messages with other users in the server that have devices that support SIP-based messaging, such as other VitalPBX Connect devices, VitXi, or select desktop phones.
You can edit and remove conversations or start a new one with the button in the upper right-hand corner.
The messaging feature supports regular text and emojis.
Conclusion
We have gone over everything you need to start using VitalPBX Connect today. We hope this guide has helped you understand and see all of the benefits of the VitalPBX Connect application.
Related Articles
Using the VitalPBX User Portal
Prerequisites: You have received your portal credentials from your system administrator Using VitalPBX Web Portal The web portal allows you to manage basic functions of your personal phone extension. When you first login you will be presented with ...Using VitalPBX VitXi WebRTC
Prerequisites Received login credentials from administrator via extension welcome email. Headset with microphone connected and configured (if required) on your computer. Using VitXi VitXi is a web-based phone interface for your organizations phone ...Enable VitalPBX Connect SIP Logging
Your support technician may request you enable SIP logging to help in troubleshooting an issue with your phone service. 1. Open the VitalPBX Connect app on your mobile device. 2. Tap the three dots in the upper right hand corner of the app to access ...VitalPBX Customer Firewall Rules
The following outlines the network requirements to utilize our VitalPBX services. Prerequisites 1. Disable SIP ALG on your firewall 2. Optional - enable port preservation LAN to SpeakEZ VitalPBX Server "vital.speakez.solutions" (199.38.217.90) HTTP: ...VitalPBX Extension Call Forwarding w/ Feature Codes
Prerequisites None Activate Call Forwarding Immediately Using the physical phone for the extension you desire to forward calls FROM, dial.... *58* followed by the extension number you want to forward calls TO. Example: You desire to forward all calls ...
